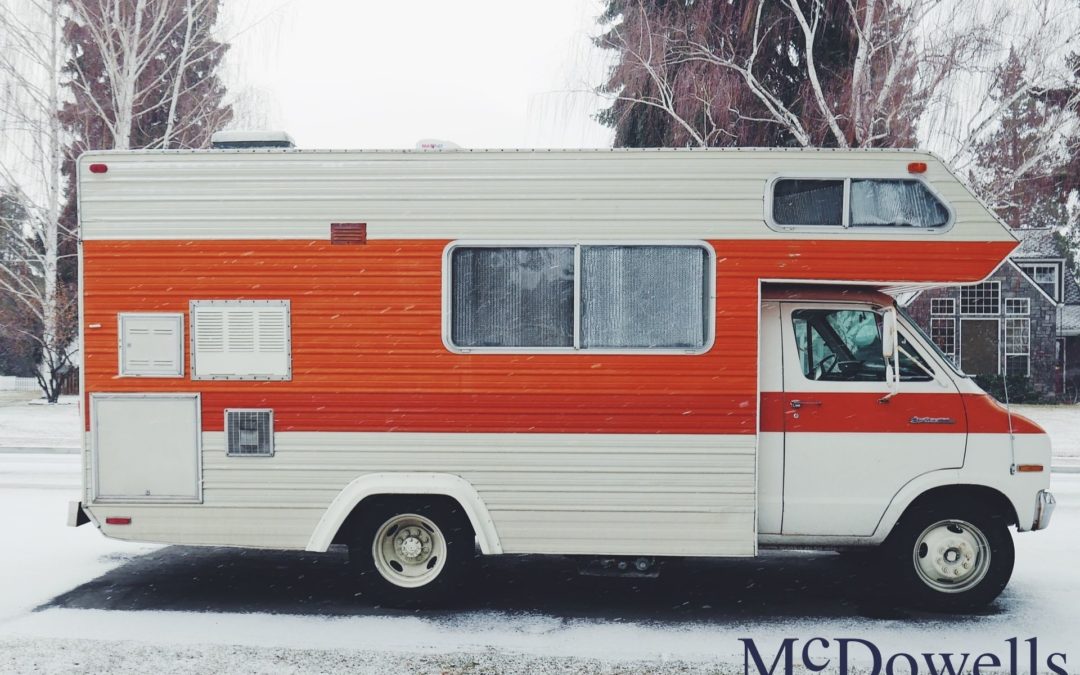
It may still feel like summer, but with Labor Day weekend behind us, the time for many of our outdoor escapades is rapidly coming to an end. You know what that means: it’s time to winterize our RV’s and camp trailers! If you’re not sure where to start or just need a refresher, the team at McDowells has put together a little list to help you prepare your RV for the upcoming Idaho winter!
Clean It Out
The first thing you need to do: give the interior of your RV a thorough cleaning! After a fun and eventful camping season, it may surprise you just how much grime is lurking in all of the nooks and crannies. It’s time to clean out all food and other perishables, remove temperature-sensitive products, and vacuum, dust, wipe, and scrub every last corner of your camper. Not only will this prevent any funky or musty smells from becoming an issue; this will also make it possible for you to get out into the wild that much faster in the spring!
Remove Your Water Filters
Now that your camper is sparkling clean, you’ll want to remove any in-line water filters from your system before moving forward with winterization. Any chemicals you may put in your lines for winterization can damage your filters, and you may want to replace them before your next camping adventure, anyway!
Drain Those Tanks
Make sure to properly (and safely) drain all of your tanks, paying special attention and care with your gray and black water tanks. You don’t want wastewater sitting all winter, and freezing of any of your lines could cause damages that can lead to expensive repairs later. Once cleared, make sure you thoroughly clean your black water tank with the proper tank cleaner!
Prepare The Water Lines
Once you’ve drained your tanks, the time has come to drain all water from your water lines and water heater. To prevent injury, make sure that the water heater is turned off, cool, and not pressurized when you go to drain it. Open up all of the faucets and your drain lines to make sure to get all of the water out of your lines before continuing with winterization!
Remember: Bypass The Water Heater!
For safety, sanitation, and to save yourself a lot of time and angst in the spring, it’s very important to bypass your water heater before proceeding to your final winterization steps! You don’t want antifreeze to get into your water heater for a few reasons:
- It doesn’t need it and takes a LOT to fill it, so it’s a waste of the chemical and your money.
- You’ll need to thoroughly rinse out ALL antifreeze from your water heater before you can use it again, for health and safety reasons.
It takes a lot more time to clear your water heater than to clear the lines themselves, so it’s best to just bypass your water heater now and save yourself the grief later!
Add Antifreeze
Once your lines are completely dry and your water heater bypass is in place, you’re ready to move on to your final step of winterization! Close your drain lines and faucets. Using a water pump converter kit, you can use the inlet side of your water pump to pump antifreeze into your lines.
Once the system is properly pressurized, you can go to each faucet, turn them on one at a time, and wait until you see antifreeze. Do this for both hot and cold! Make sure that antifreeze has reached the city water inlet, pour a little extra antifreeze down each drain in your RV, double-check that all faucets are off and the heating element for your water heater is off, and you are properly winterized!
Consider RV Repairs
With your RV is staying put for the season, now is a great time to consider RV repairs! Whether your exterior has a few minor dents or dings that you want touched up with paintless dent repair, or there are interior RV repairs that need to be taken care of, the team of professional technicians at McDowells Specialty Repair can help! Give us a call today to get a quote and to find out more about what kind of repairs we can do to keep your RV looking good as new!

